Use the Consulting Decision Tree to Better Structure Your Writing
May 10, 2020
The dilemma for writers like me isn’t idea generation, it’s how to convert the formless bundle of energy in our minds to the written word. I struggled with this a lot until I brought my day job to my writing.
Anything you write must have structure even if it’s a personal story. You need to decide how much emphasis to give the beginning, middle, and end. Whether slight tangents fit your mission or not.
Your writing should be solving a problem for your readers. It could be how to become rich and famous, it could be educating them, it could even be helping them to laugh. So I reframed my writing as problem-solving and stole a timeless technique from the consulting industry.
In a consulting interview, you’re given a mass of information to logically structure and come to an answer. This is the same thing as writing articles!
Try the four-step exercise below for your next article, it takes under 20 minutes.
1. Setting up
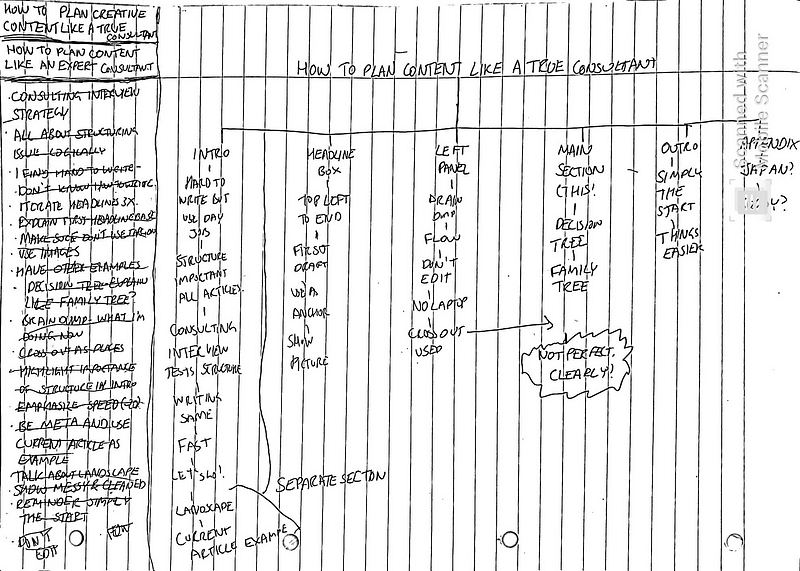
To start, get a sheet of paper and turn it landscape. This is a creative mode, not essay writing. Now draw a vertical line from the top to the bottom around 20% in from the left side. In the smaller segment, draw two horizontal lines to make boxes able to fit around two to three lines of text. It should look something like below:
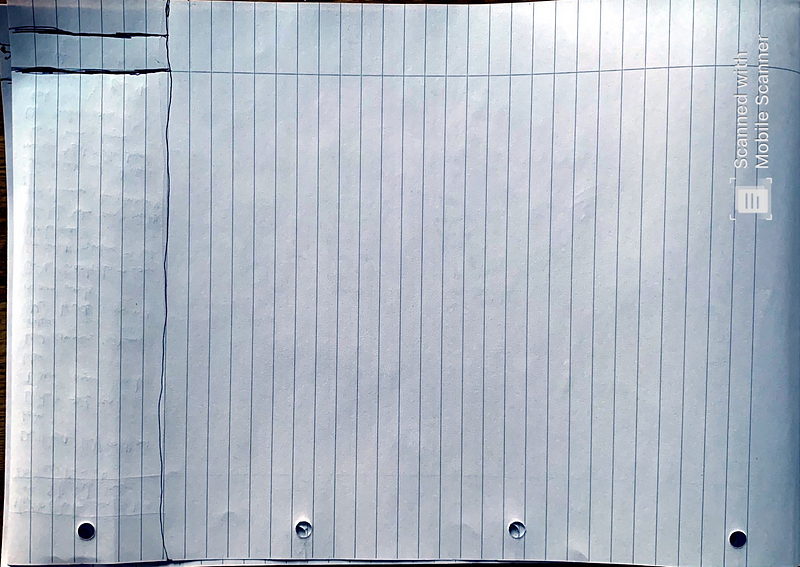
2. Initial Headline
The box in the top left corner will be your final headline. Ignore it for the moment, we are going to come back to it at the end.
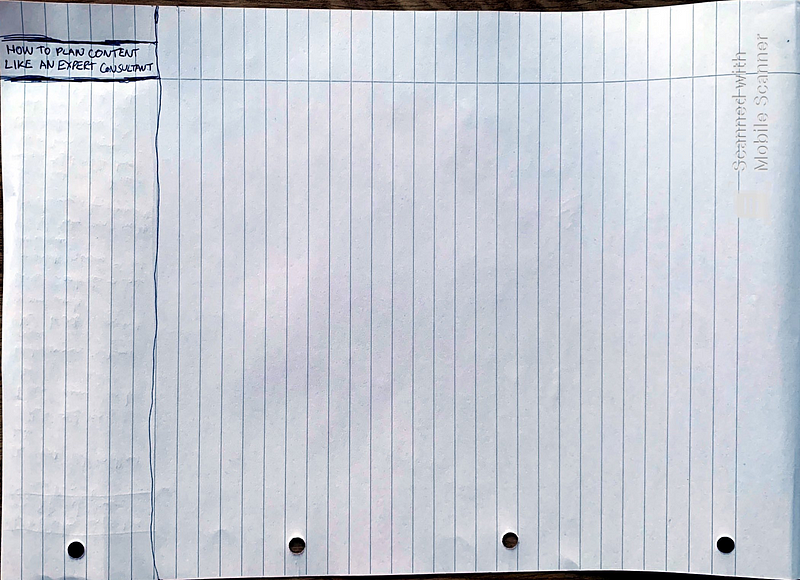
Let’s start in the second box in the left panel and write your initial headline idea. This is the question you’re going to solve with your article. Everything else on the page must in some way help answer this for the reader.
To be meta, I took pictures as I made the plan for this article as an example. There are further examples at the end of different styles of articles. For listicles, unless I already have exact ideas in mind, I will use X instead of committing to a specific number.
3. Brain Dump
In the largest section of the left panel, we are going to do our brain dump. It’s important not to use electronics for any research at this stage because it slows us down. This should take five to ten minutes and be distraction-free!
I keep extensive notes on areas I’m interested in and I keep this notebook beside me when I plan. Often, I’ll remember I read something great about the topic in a book and check my notes for inspiration. This process is fast because my notes are in my language rather than trying to process someone else’s online.
When you are ready, set yourself a timer and let loose. Write down bullet points with ideas related to your question. Don’t edit and don’t worry about being messy, only you are ever going to see this plan. This isn’t writing, it’s all about the ideas.
Now, you can see from the first image, I’m not lying about being messy. I rewrote it slightly cleaner but the idea is more important than my content here.
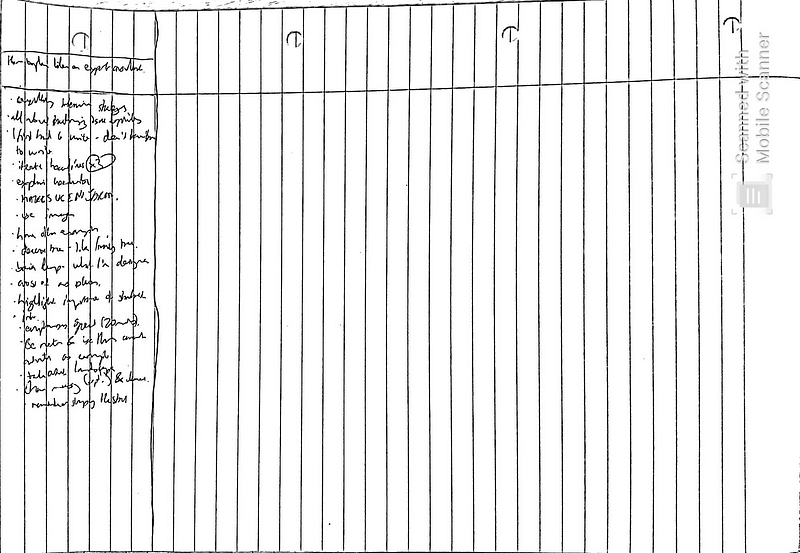
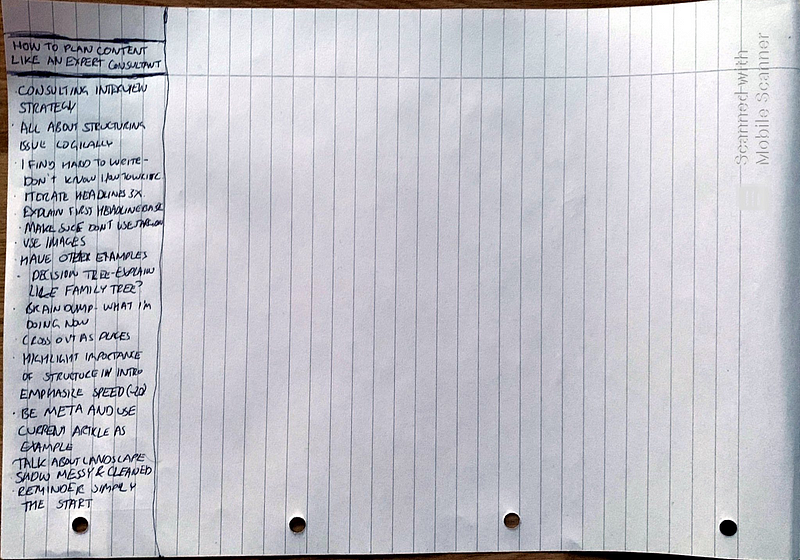
Sometimes after this mind release, I think I don’t have enough points I believe in to write an article. I’ll stop at this stage and choose another topic. Yet this plan is in my bank, so if ever I am inspired on this topic I can come back.
4. Create Your Tree
Now for the magic. Look over what you have in the left panel and pick out what your sections will be. What are the main points? Use a tree structure to map out your article. Picture a family tree with your headline as the parent, the sections as children, and the supporting points as grandchildren.
Don’t mindlessly repeat the headline you already have. Think about what ideas you came up with. Does your content answer a more compelling question? Sometimes I have a great idea in the flow state and it changes what I want the article to achieve. If so, update the headline and put it at the top to begin your tree.
Next, we have branches for the different sections. For this article, the structure was fairly straight forward: introduction, headlines, brain dump, decision tree, conclusion.
Now we need to systematically place everything in the left panel to the right side. How will each section open? What needs to be included? It’s best if you cross out items as you place them. Don’t be afraid to add content at this stage to link points organically. Be ruthless if a point from the left panel doesn’t fit your structure as not all ideas are equal. We want our articles to feel natural and flow.
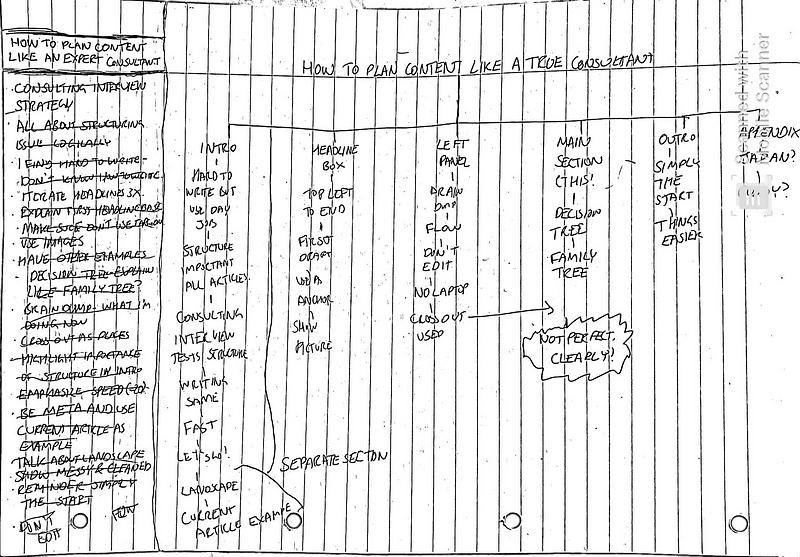
I’ve purposely left in where I’ve changed my mind in the structure to show this isn’t an exercise in perfection, only organizing thoughts.
The final step is short but important! Pick another headline and put it in the top left box. You’ve now had to think three separate times about your headline and have hopefully iterated it each time. It’s a great way to introduce discipline in mindful headline choices. Our plan is finished!
Other Examples
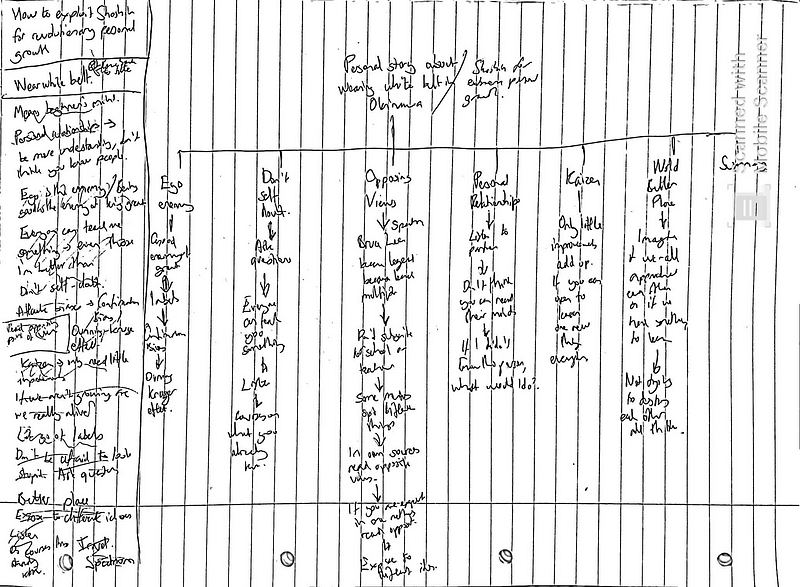
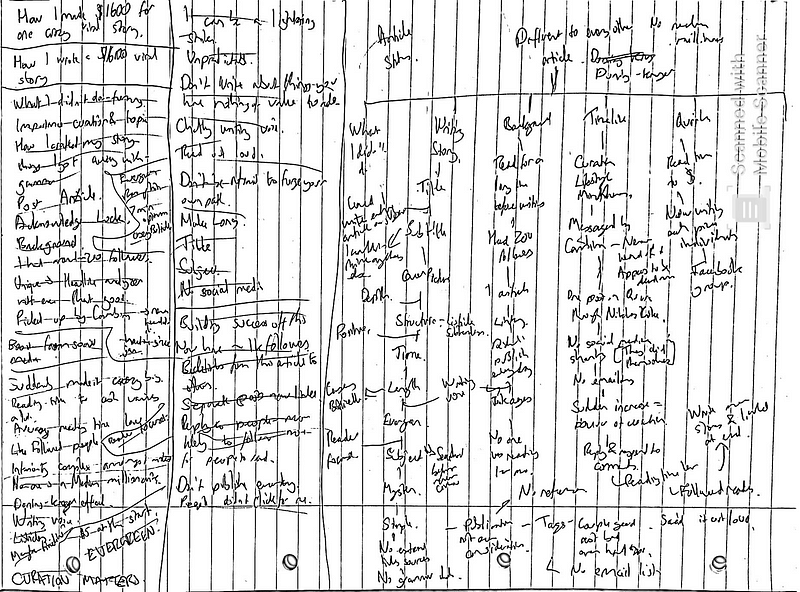
Here are a couple of examples of real-life plans I’ve used. These were two of the most difficult to structure. You can see in example#2, I went way further with the brain dump stage. Remember, this is a framework you adapt to your needs for each story, this is not rigid dogma!
Wrapping Up
Once these plans are ready, we have mapped out our entire article section by section. By using a piece of paper, we can see everything without needing to scroll or zoom out which frustrated me about outlining online.
Now the writing can begin and simply typing out your tree can get the core of the article done. You are nowhere near finished, as now it’s time to introduce the heart and make sure you use the words to impact your readers. Yet in under 20 minutes, we’ve come pretty far. Congratulations to us!
I hope this method is useful for you, and please ask any questions about structuring different types of articles.
Have a wonderful day!

